Replacement Parts From Old Drawings or Samples: How Reverse Engineering Works With a Machine Shop
Machines last longer than their drawings. A pump from the 1990s, an imported press with no spare parts list, a machine whose maker has closed: all of them end up with a worn part on a bench and no documentation. A machine shop can rebuild that part. The process is well understood, and it succeeds when both sides agree on what the sample proves and what it does not.
What you can start from
Buyers usually have one of four starting points. Each has its own risk.
| Starting point | What the shop does | Main risk |
|---|---|---|
| Old drawing in good condition | Checks it against the part, then quotes | Drawing revision may not match the part in the machine |
| Old drawing, incomplete or in another standard | Rebuilds missing dimensions and notes | Guessed tolerances and material |
| Worn sample, no drawing | Measures, estimates original size, draws | Wear changed the dimensions |
| Broken sample, pieces only | Reconstructs the shape from fragments | Missing information, higher cost |
A drawing helps even if it is old. Photographs of the part in the machine and a note of where it fits add information the sample alone does not carry.
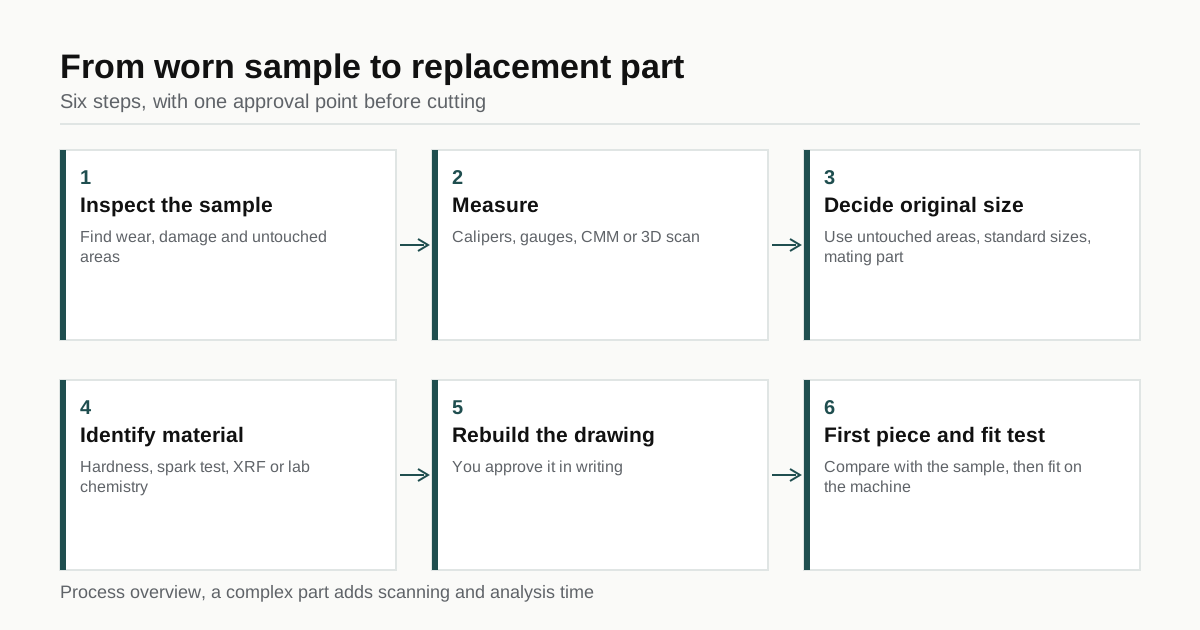
Step 1: Inspect the sample
The shop begins by looking. It checks the part for wear, damage and repair, and notes which surfaces were functional, such as a bearing seat or a sealing face, and which were only structural. A sample usually has areas that are worn and areas that are untouched, and the untouched areas give the original dimension.
Photographs, a sketch of the whole part and a list of observations come first. A shop that goes straight to the machine without looking tends to measure the wrong things.
Step 2: Measure it
Measuring tools depend on the shape and accuracy needed:
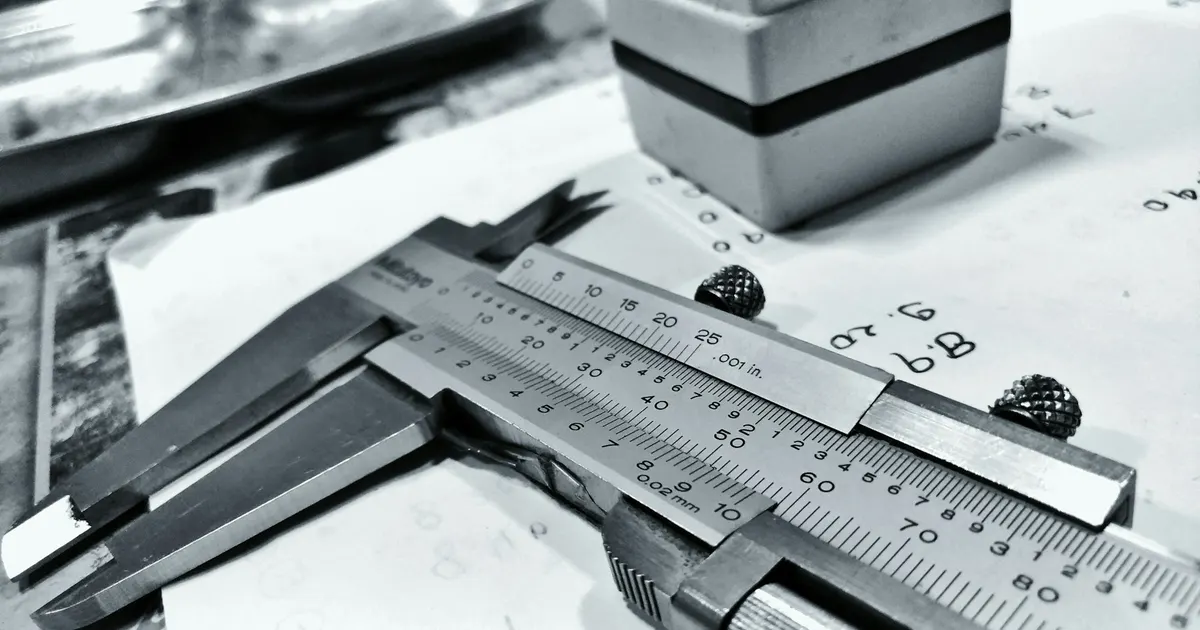
- Calipers and micrometres for basic dimensions to about 0.01 mm
- Height gauge and surface plate for heights, steps and flatness
- Thread gauges and pitch gauges to identify thread forms, such as metric, unified or pipe
- Bore gauges and pin gauges for holes
- CMM for position, geometry and complex surfaces, as the CMM report guide describes
- 3D scanning, by structured light or laser, for free-form shapes, with typical accuracy of 0.02 to 0.1 mm depending on the scanner and the part
For parts with gears, cams, splines or blades, simple tools are not enough. These need profile measurement and often a specialist, and a shop should say so early instead of promising a quick copy.
Step 3: Decide what the original size was
This is the hard part. A worn shaft is smaller than new. A worn bore is larger. A shop chooses the original size from three clues:
- Untouched areas of the sample that kept the original dimension
- Standard sizes, such as a 25 mm shaft for a standard bearing, a standard thread or a standard key width
- The mating part, if available, because a clearance fit between the two gives the intended size
Often the answer is a round standard size: 25.000 mm, not 24.93 mm. Rounding to standards also helps you buy bearings and seals from a catalogue. The shop proposes dimensions and shows its reasoning, and you or your engineer confirm them.
Step 4: Identify the material
A sample does not carry its own certificate. The shop can find out several things:
- Hardness test, which suggests the condition and often the family of steel
- Spark test, which identifies carbon steels, alloy steels and stainless steel roughly
- XRF analysis, which reads the alloy elements of metal in seconds but cannot read carbon
- Laboratory chemistry, which gives full composition, including carbon, and typically costs tens of US dollars per sample
- Cut and check a small area for heat treatment depth, if the sample may be sacrificed
The result is a close match, such as “alloy steel similar to 4140 at about 30 HRC”. It is not proof of the original grade. For a part that carries load or safety, confirm with the machine maker if possible, or choose a grade with a margin. The grade equivalents guide and the steel guide help in writing the material note.
Step 5: Rebuild the drawing
The shop produces a 3D model and a 2D drawing with dimensions, tolerances, material, finish and notes. The tolerances are inferred from function: a bearing seat gets a fit tolerance, a clearance hole gets a general tolerance. A drawing built from a worn sample should carry a note that tolerances are proposed and need approval.
Approve this drawing in writing before any cutting begins. It becomes the master for future orders, and the cheapest correction is made here. The RFQ guide shows what a complete drawing should hold.
Step 6: Make a first piece and test it
A first piece is made and compared with the sample. It is then fitted to the machine, if possible, before any batch is made. This is a sensible use of the first article inspection: a short report that proves the first piece matches the new drawing, followed by a fit test on the real equipment.
Plan for one correction cycle. A first piece may fit with a small adjustment, such as a bore 0.02 mm larger or a keyway slightly wider. The cost of that second piece is far smaller than a batch of parts that do not fit.
What it costs and how long it takes
Reverse engineering adds an engineering charge to the quote, usually a fixed fee per part or per hour of engineering. A simple shaft may take an hour of drawing work. A complex housing may take a day or more, including scanning. The part itself is then priced as a normal part. Ask for the engineering fee as its own line and ask whether it is credited against the order.
Lead time follows the steps: shipping the sample, measuring, drawing approval, first piece and then the batch. A simple part can move in two to three weeks from receipt of the sample. A complex one takes longer. The lead time guide gives typical manufacturing ranges, and shipping the sample adds days.
Shipping a sample
Send the sample with a clear description, such as “sample parts for measurement, no commercial value”, and a value for customs. Pack it to avoid further damage, mark the wear and break areas with tape or a note and say whether you need the sample back. The importing guide covers customs on the return leg. If the sample is valuable or unique, keep a photograph record before it ships.
Common pitfalls
Three problems recur. First, buyers send a worn part and ask for the same part, and the shop copies the wear. The sample proves the shape, not the original size, so ask for the original. Second, the sample comes from a machine that was modified, and the part no longer matches the stock design. Check the mating parts before approving. Third, the part runs in a system that has changed, for example a different oil, a new motor or a higher load, and a faithful copy fails again. If the original part failed early, a copy will fail early too. Tell the shop why the part failed, so it can suggest a stronger material, a larger radius or a better finish.
Treat reverse engineering as a short engineering project, with a drawing as its main output, and the first batch as proof that the drawing is right.
Rights and limits
Rights and limits
Reverse engineering for repair and maintenance of equipment you own is common practice. Copying a patented or protected design to sell is a different matter. Make sure that you have the right to have the part made, and tell the shop if the part is subject to a licence. A shop that asks is acting responsibly. Do not ask a shop to remove or copy another company’s marks.
Also know the limits. Parts with hidden internal features, special coatings, unknown heat treatment or unusual alloys may not be reproduced exactly. In those cases, aim for a part that does the same job, and test it.
Summary checklist
- Collect what you have: drawing, photographs, mating parts and the machine data
- Ship one or two samples with wear areas marked
- Ask the shop to propose original dimensions and show its reasoning
- Confirm material by test, and by the machine maker if the part is critical
- Approve the rebuilt drawing in writing
- Order a first piece and a fit test before a batch
- Ask for the engineering fee as a separate line
When you are ready, send the RFQ with your photographs and notes. Up to three shops in Vietnam will propose how they would measure and rebuild the part, and we reply within 24 business hours.
Frequently asked questions
Can a shop make a part from a worn sample with no drawing?
Usually yes, if the part is a simple geometry such as a shaft, bushing, bracket or housing. The shop measures the sample, estimates the original size where wear has changed it and rebuilds a drawing for your approval. Complex shapes, gears and cams need extra analysis and cost more.
How do we find out what material the sample is made of?
A shop can test hardness, run a spark test, use a handheld XRF analyser for the alloy family or send a sample to a laboratory for full chemistry. The result is a close match, not proof of the original grade. If the part is critical, confirm the grade with the machine maker or with a lab test.
Do I need to ship the sample to Vietnam?
For anything beyond a simple shape, yes, because measuring the real part is the most reliable route. Ship one or two samples, mark the wear areas and ask for the sample back if you need it. For basic parts, a drawing sketch with dimensions, photographs and a datasheet may be enough.
Need a quote for a part like this?
Send the drawing. We shortlist up to 3 machine shops in Vietnam, manage the order if you want us to and reply within 24 business hours.
Send my RFQ